
ALEC
Instructions for use and installation on macOS
Installation
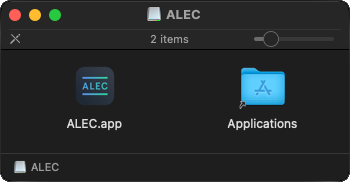
To install the app, open the DMG installer and drag the app icon to the Applications folder.
Accessibility Access
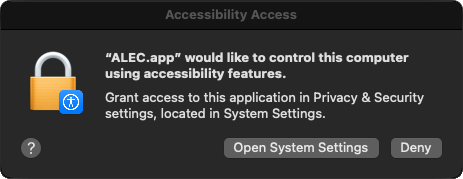
The first time you run the app, a notification will appear stating that it requires accessibility permissions. Click on ‘Open System Settings’ and enable the permissions for the app.
Menu Bar Icon
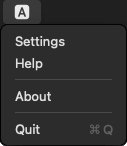
When the app is running, an icon is displayed in the menu bar. The app does not display any icon in the Dock.
Since the app’s functions only work when the Live window is in focus and don’t interfere with other apps, you can choose to run it at startup. To do this, open the ‘Apple menu > System Settings > General > Login Items’. Under the ‘Open at Login’ section, click the ‘+’ button to select and add the app.
Settings
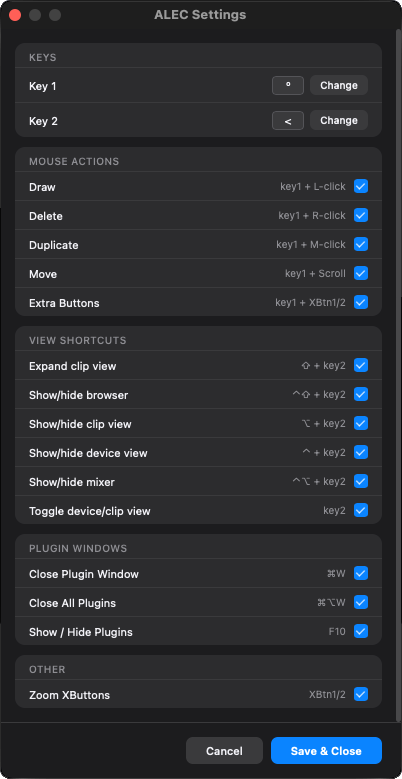
The first thing to do after running the app for the first time is to set the special keys. To do this, simply click the ‘Change’ button and press the desired key.
KEY1 is the special key used for Mouse Actions. When held down, the mouse buttons perform different actions. It is used in conjunction with the CONTROL and SHIFT keys to perform additional actions.
KEY2 is the special key used for View Shortcuts. When used alone or in conjunction with the CONTROL, OPTION and SHIFT keys, it shows/hides different elements of the Live GUI.
Mouse X1 and X2 are the back/forward mouse buttons.
Although setting both special keys is mandatory, you can assign the same key to both fields. This can be useful to avoid wasting two keys if you’re only going to use Mouse Actions or View Shortcuts.
Each app feature can be individually enabled or disabled. By default, all features are enabled. If any feature conflicts with other key mapping software you’re using, you can disable it.
Mouse Actions
Navigate through the tab box below for details of the different actions performed when using the special key KEY1 in conjunction with the mouse buttons.
Examples of each action are shown in the MIDI editor, but they are not limited to that. Depending on the type of action, it can be applied to different elements (MIDI notes, clips, tracks, devices, automation, envelopes).
KEY1 + Mouse Left Button
Insert MIDI notes and modify envelopes/automation as if Live’s Draw Mode were active. When used with Draw Mode active, acts as a selection tool.
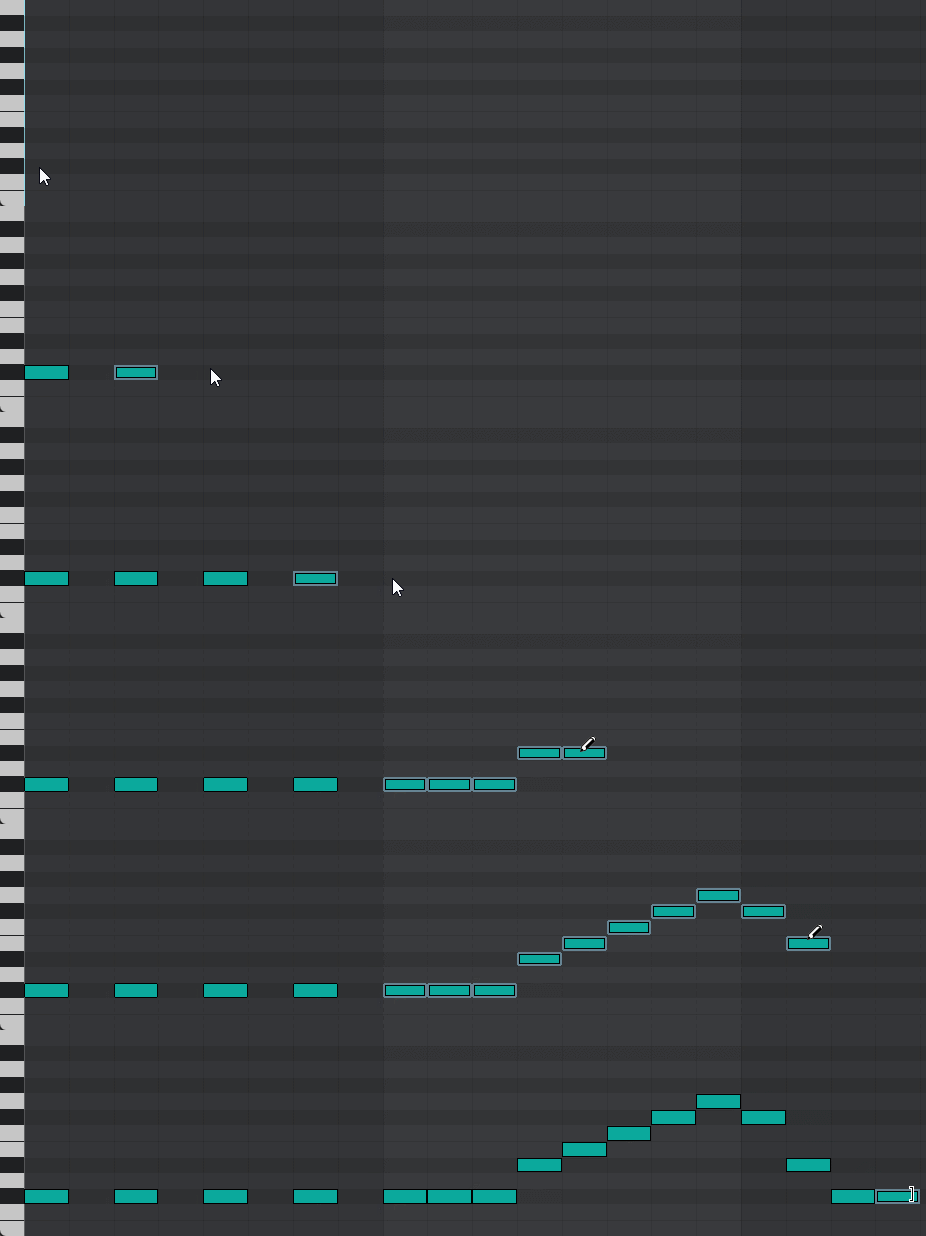
KEY1 + SHIFT + Mouse Left Button
Click and drag to insert a MIDI note and modify its length.
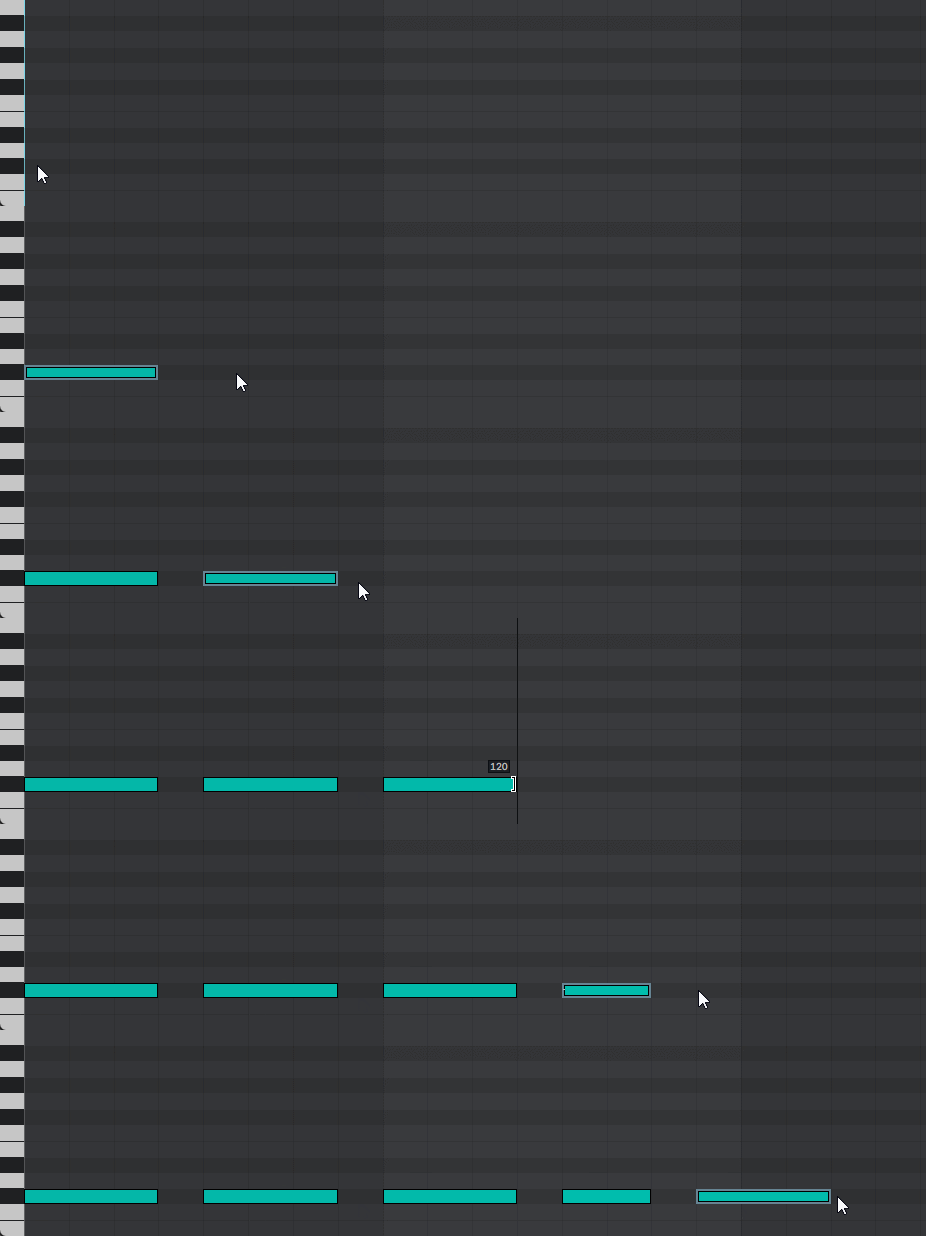
KEY1 + Mouse Right Button
Deletes the item at the mouse cursor position.
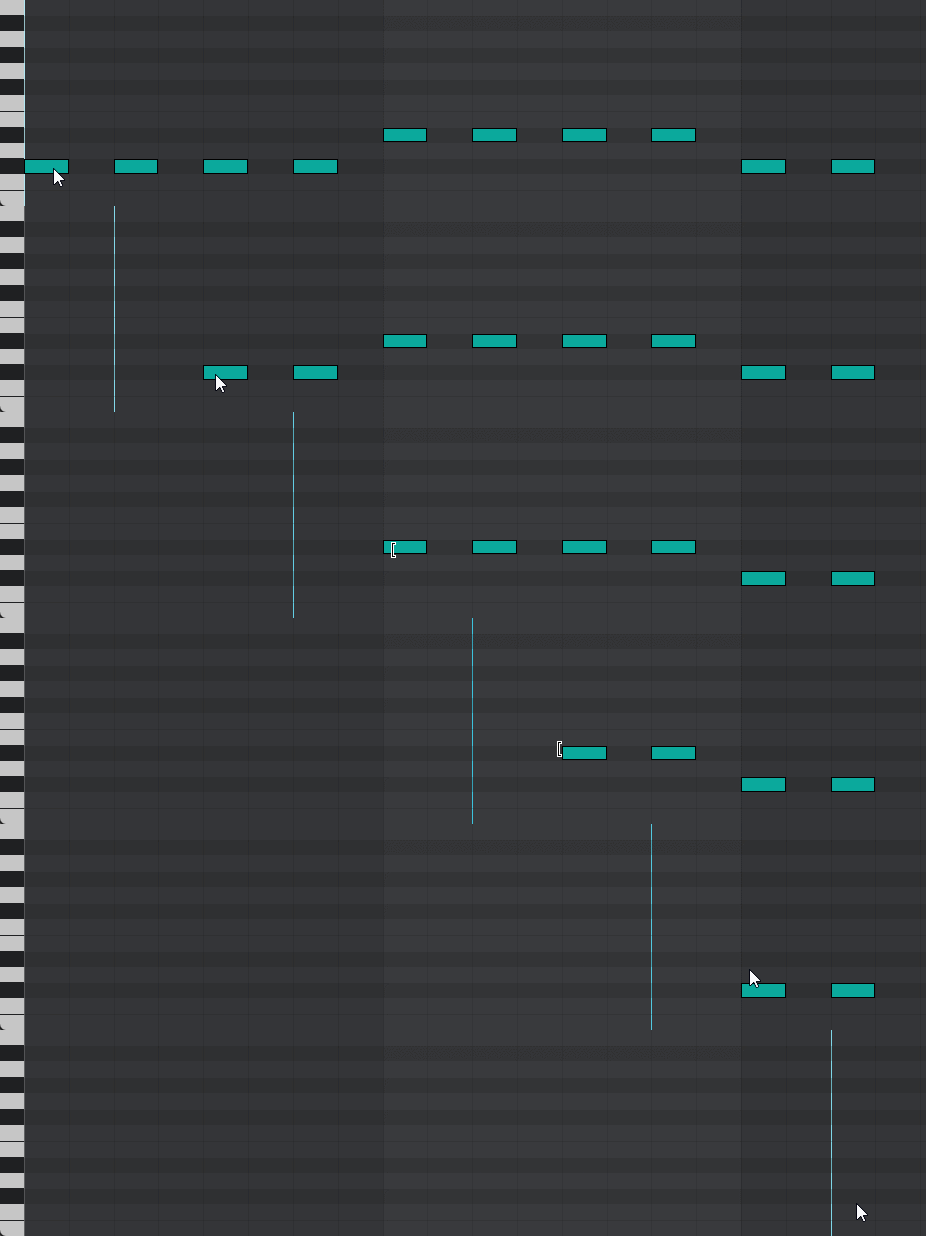
KEY1 + SHIFT + Mouse Right Button
Deletes the selected items. Equivalent to using the delete key.
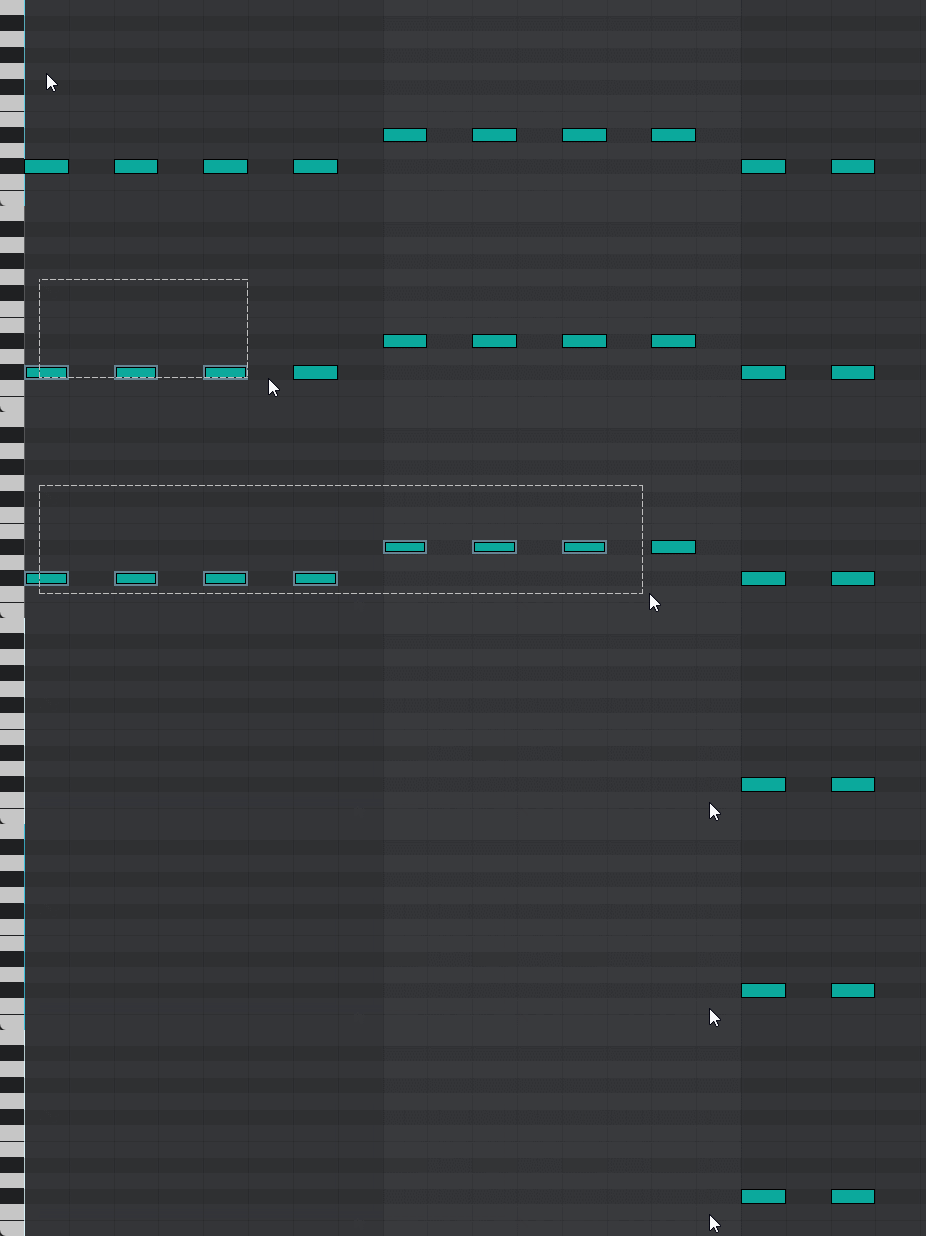
KEY1 + Mouse Middle Button
Duplicates the selected items to the mouse cursor position.
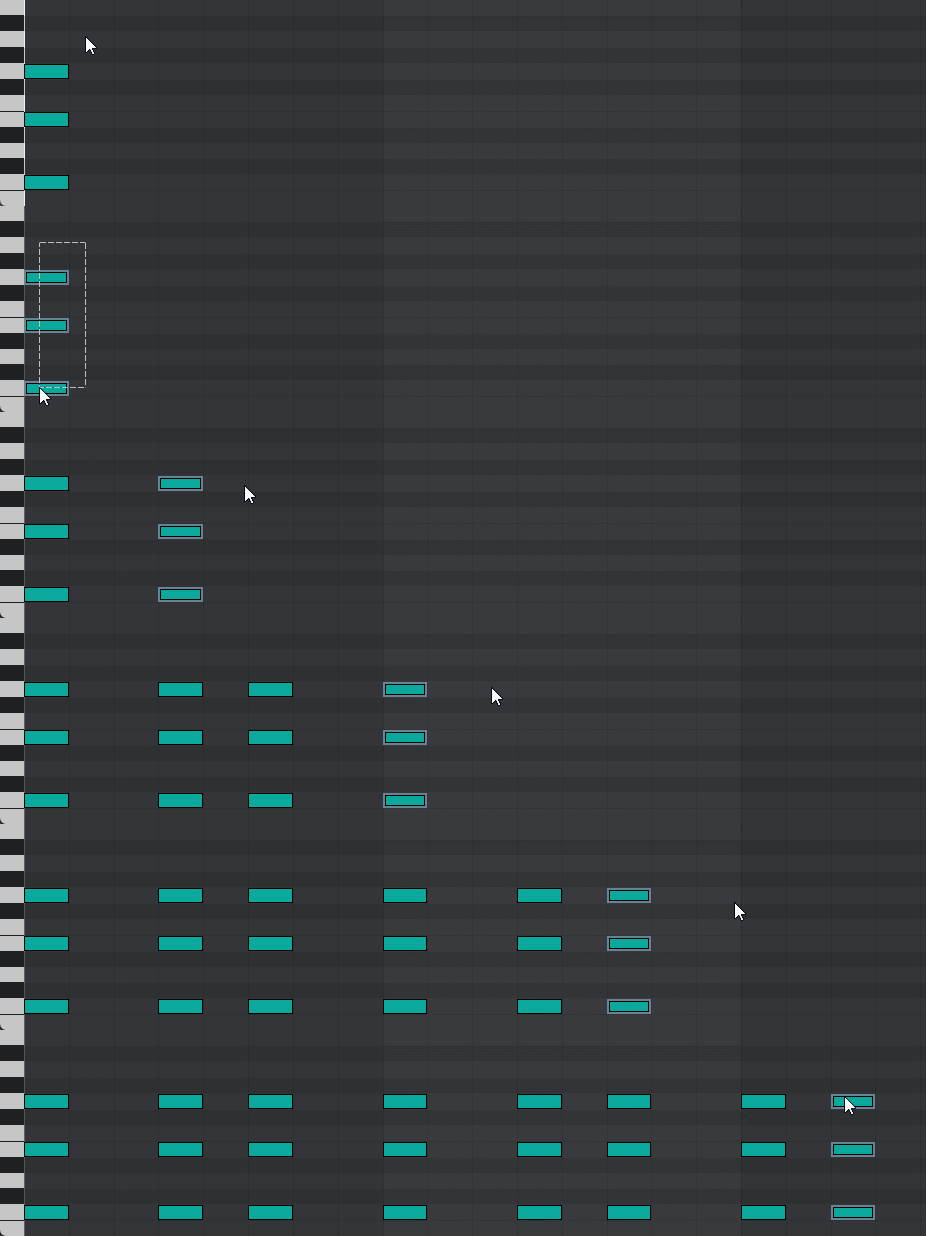
KEY1 + SHIFT + Mouse Middle Button
Duplicates the selected items in the same way as Ctrl+D
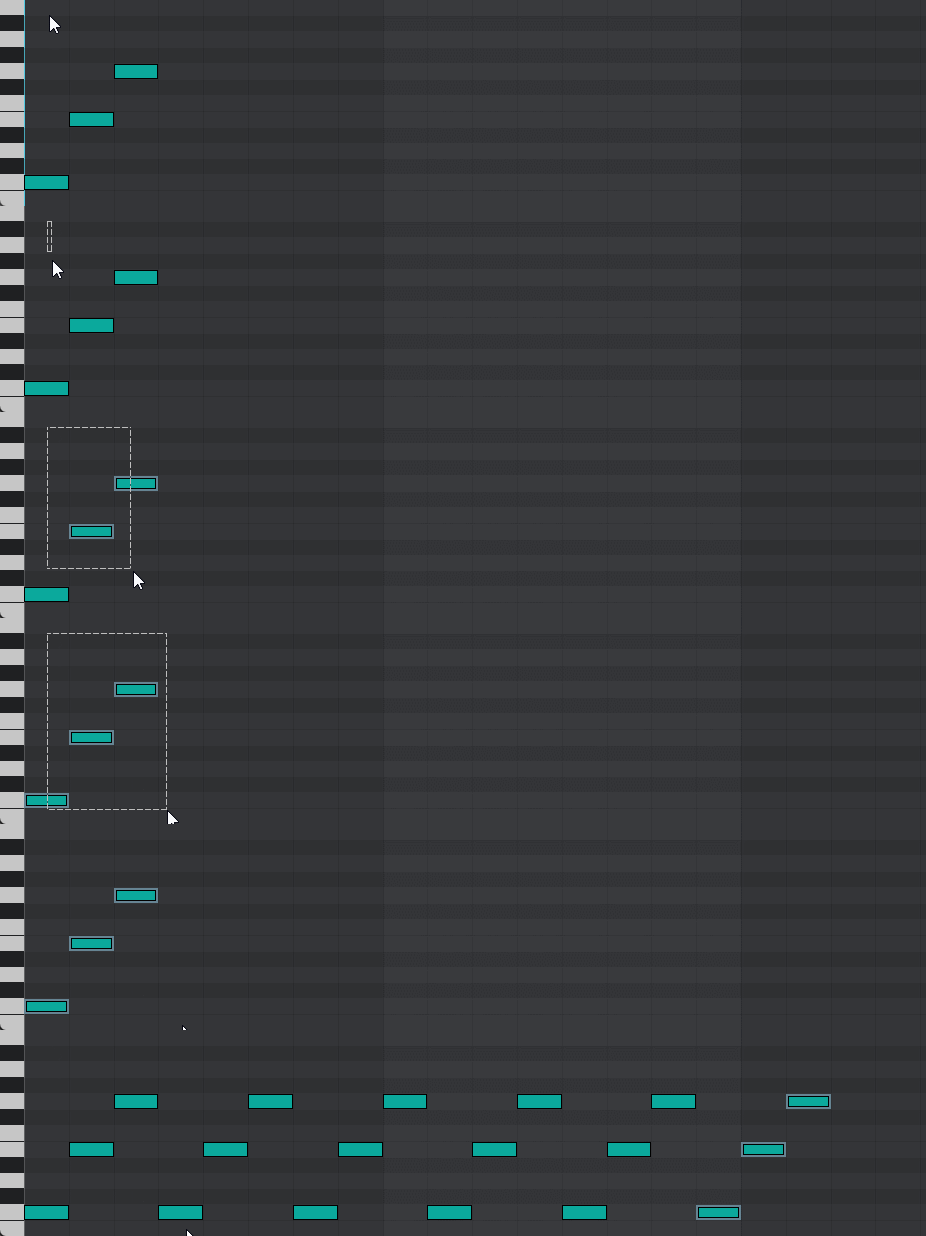
KEY1 + Mouse Wheel
Moves the selected items left and right.
KEY1 + SHIFT + Mouse Wheel
Moves the selected notes up or down one semitone.
KEY1 + CONTROL + SHIFT + Mouse Wheel
Moves the selected notes up or down one octave.
KEY1 + CONTROL + Mouse Wheel
Changes the length of selected MIDI notes.
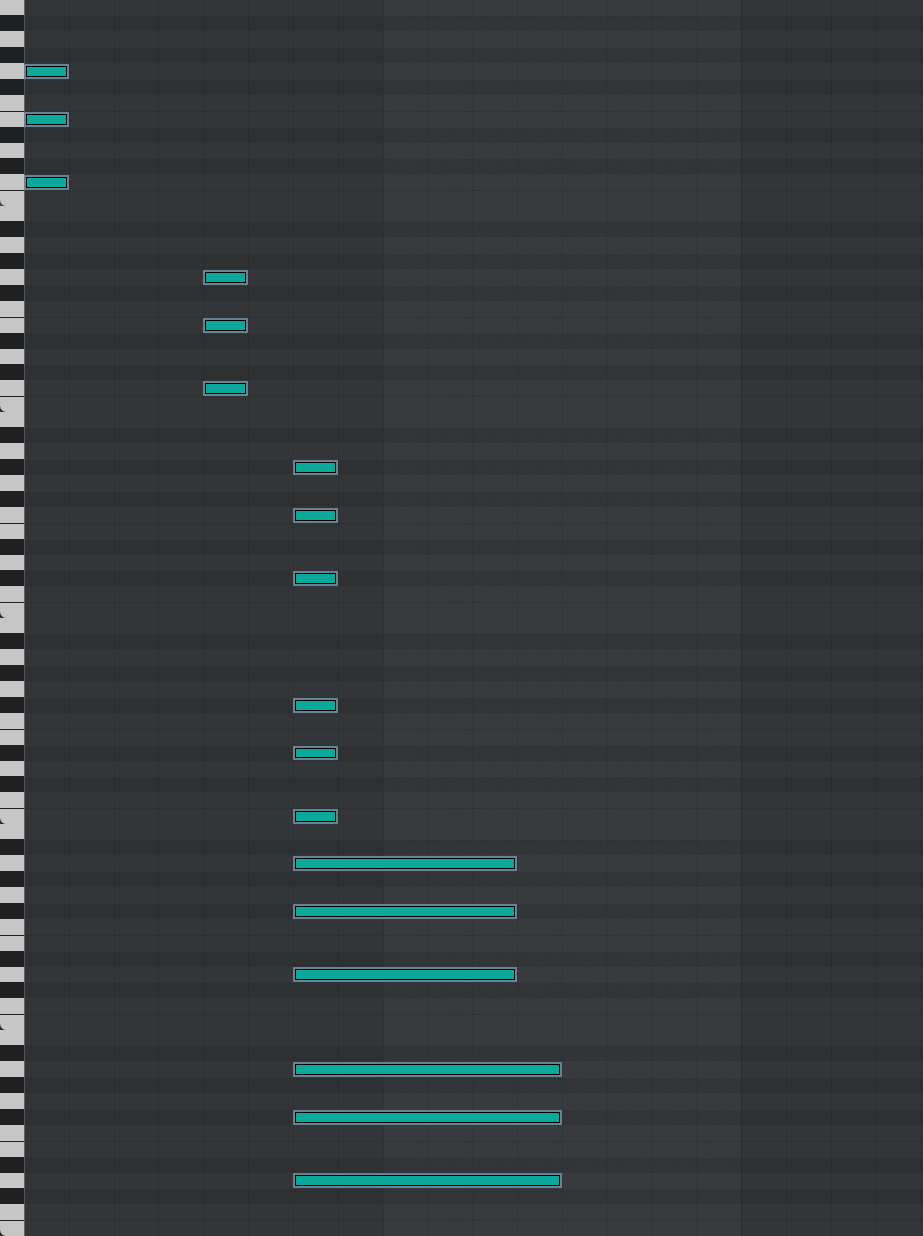
KEY1 + Mouse Wheel basically triggers the left/right cursor movement. And together with the SHIFT key, it triggers the up/down cursor movement. So when no item is selected it can be used to navigate between tracks and scenes, and together with the CONTROL key it can be used for track selection (Session view) or time selection (Arrangement view and clip editor).
Feel free to experiment with these combinations anywhere in the Live interface to discover other possible uses.
KEY1 + Mouse X Buttons
Reduces/Increases the grid size.
KEY1 + SHIFT + Mouse X Buttons
In the MIDI clip editor shift all notes down/up one octave.
KEY1 + CONTROL + Mouse X1 Button
Toggle loop brace. Works the same as Ctrl+L
KEY1 + CONTROL + Mouse X2 Button
Select all. Works the same as Ctrl+A
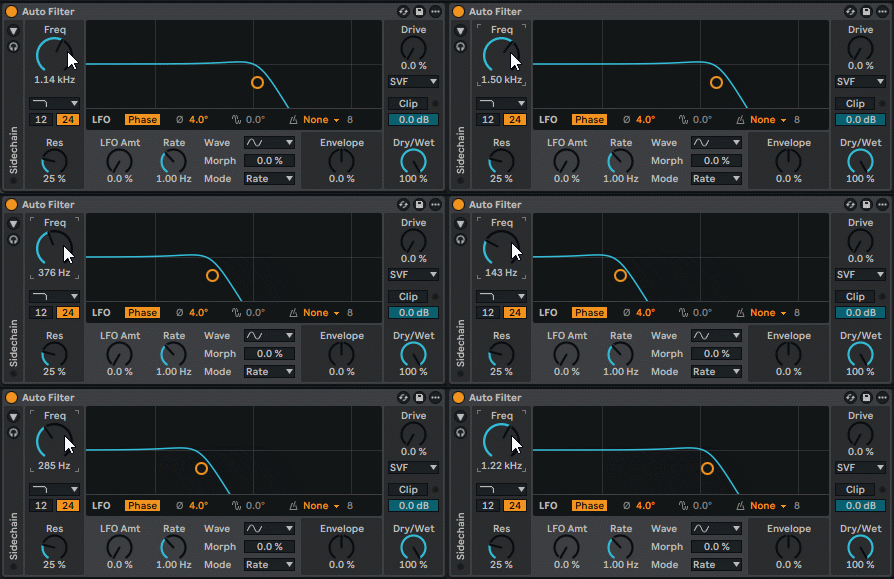
After clicking on any Live parameter to put focus on it, the mouse wheel along with the special key KEY1 can be used to modify the parameter value. Use in conjunction with SHIFT for sliders and in conjunction with CONTROL for fine adjustment.
Note that this action only works if ‘Move/Resize modifiers’ is enabled in the settings.
View Shortcuts
The actions performed with the special key KEY2 don’t add anything new, but they simplify Live’s keyboard shortcuts for changing and showing/hiding views. Most notably, the very frequently used SHIFT+TAB can now be performed with a single key.
All actions are centered around the special KEY2 key when combined with the OPTION / SHIFT / CONTROL keys, resulting in a more logical usage than Live’s keyboard shortcuts.
KEY2
Toggle between device/clip view.
CONTROL + KEY2
Show/hide device view
OPTION + KEY2
Show/hide clip view
SHIFT + KEY2
Expand clip view
CONTROL + OPTION + KEY2
Show/hide mixer
CONTROL + SHIFT + KEY2
Show/hide browser
Plugin Windows
These key combinations only affect AU, VST and VST3 plugin windows.
COMMAND + W
Either one can be used to close a plugin window. Since some plugins may require the ESC key at some point, it’s generally recommended to use CONTROL+W. However, if none of the plugins you use require the ESC key, you can use it, as it’s more convenient to use one key than two.
COMMAND + OPTION + W
Close all visible plugin windows, regardless of whether the focus is on any of them.
F10
Show or hide all visible plugin windows. It’s the same as pressing CONTROL+OPTION+P.
Other actions
Mouse X1/X2
The same as the Z and X keys, used to zoom in and out on the time selection.